

Privacy and App Lock
Folnaro needs no account and has no server of its own. Your invoices, times and receipts live in a database on your Mac, and if you want, in your private iCloud. Folnaro connects to the internet only for features you use, and App Lock keeps the window closed to others.
Where your data lives
- The database, archived PDFs and receipts are kept in a protected folder on your Mac that only Folnaro and its MCP server use. Other apps cannot read it.
- Folnaro sends your business data to no server of its own and contains no tracking or analytics.
- To see the folder, open Folnaro > Settings… > Backup and click Show in Finder next to Database. Change nothing in it by hand while Folnaro is running.
With iCloud sync
If you turn on Sync with iCloud, a copy of your books lies in the private iCloud database of your Apple Account. The content of your records is end-to-end encrypted, files such as receipts are protected like your other iCloud data. Passwords, agent permissions and folders you chose stay on each Mac. Details in Sync with iCloud.
When Folnaro uses the internet
Folnaro connects only when you use a feature that needs it:
- Sending email through your own outgoing mail server (SMTP), which you enter in Folnaro > Settings… > Email. Alternatively Folnaro prepares the email in Apple Mail and you send it from there.
- iCloud sync, when you turn it on.
- Checking a VAT ID with the EU service VIES when you click Check in a customer. Only the VAT ID is sent.
- Paperless-ngx, when you connect your own Paperless server.
- App Store for prices, purchases and the subscription.
- Feedback, when you send a message with Help > Send Feedback…. Only what you see in the window is sent. Diagnostics are optional and contain no names, amounts or document contents.
The MCP server for agents has no network access at all. It works only with the database on your Mac.
Passwords in the Keychain
The email password and the Paperless token are stored in your login Keychain, never in the Folnaro database. That is why they are neither part of backups nor of iCloud sync. After restoring a backup or on a second Mac, enter them again. Sample data uses its own Keychain entries, so trying the sample data never touches the password of your real account.
Lock Folnaro with Touch ID
App Lock is for a Mac that others use too or that you leave unattended. It hides your records until you unlock with Touch ID or your login password.
- Choose Folnaro > Settings… > General.
- Under Security, turn on Lock with Touch ID. On a Mac without Touch ID the switch reads Lock with login password. Folnaro asks for Touch ID or your password before the lock is on.
- In Lock after, choose how long Folnaro waits without input before it locks: from 1 minute to 1 hour, or Only on sleep or screen lock.
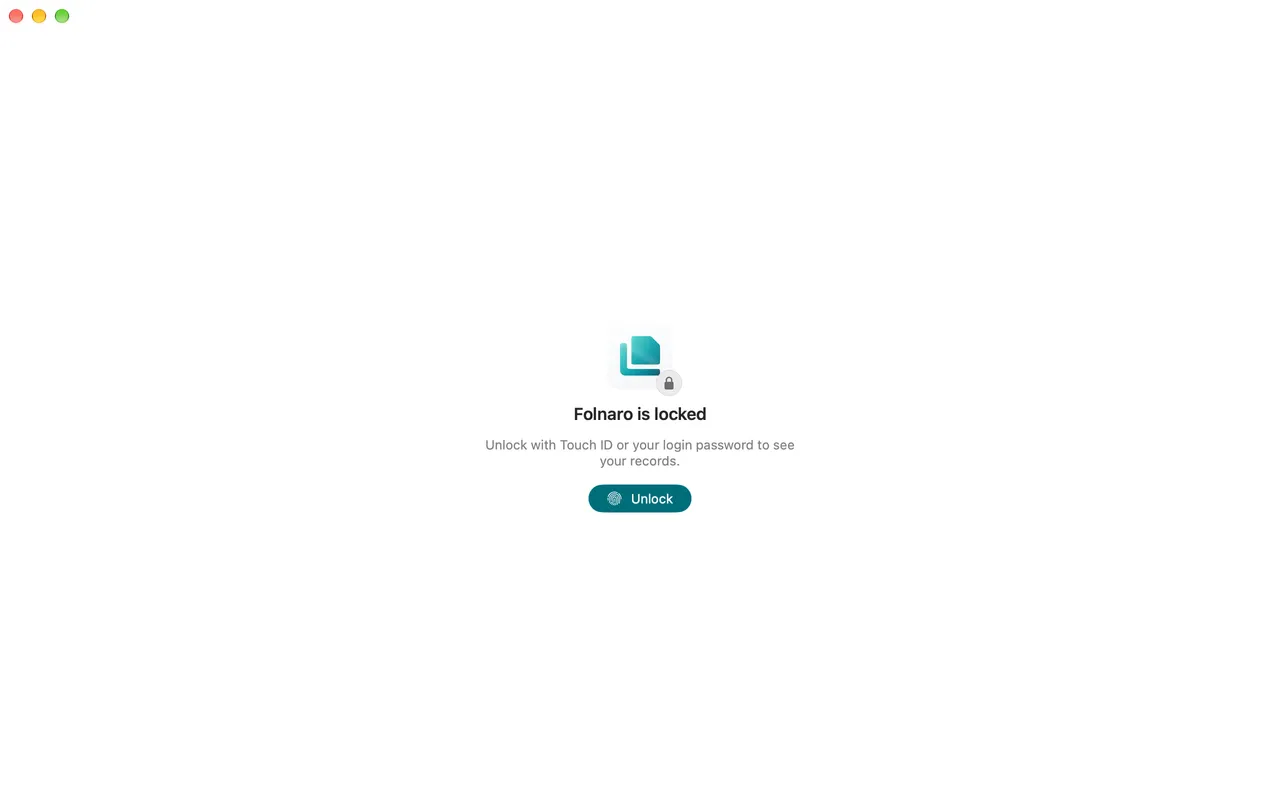
Folnaro then locks at launch, when the Mac sleeps, when the screen locks and after the chosen time without input. The window shows Folnaro is locked. To unlock, click Unlock and use Touch ID or your login password.
To lock right away, choose Folnaro > Lock Folnaro or press ⌃⌘L. The command appears once App Lock is turned on. Turning App Lock off asks for Touch ID or your password as well.
Agents and your data
Connected agents read only what you allow in Folnaro > Settings… > Agents. Every change an agent makes is in the log, with the agent named as its author. What an agent does with the data it reads is up to the agent app and its provider: many send what they read to a language model on the internet. Check their privacy policy before you leave Read turned on. More in Connecting agents through MCP.
Your duties as a business
Common problems
- The App Lock switch is not available
- Your Mac has no login password. Set one in System Settings under Users & Groups, then turn on App Lock.
- Unlocking does not work
- Try again or use your login password instead of Touch ID. If Touch ID keeps failing, check its fingerprints in System Settings under Touch ID & Password.
- After a restore Folnaro asks for the email password
- Passwords are not part of backups. Enter it again under Folnaro > Settings… > Email.